DIY Toddler Toy to Develop Fine Motor Skills- Fine Motor Fridays

Happy Fine Motor Fridays! This week I have a tutorial for an easy DIY Toddler Toy to Develop Fine Motor Skills! It uses shrink film (commonly known as Shrinky Dinks) and ribbon to make a Ribbon Pull Toy that is sure to get that pincer grasp a workin'! If you don't have shrink film or you want to make it on the EXTRA cheap, you can also use clear #6 plastic! So let's recap: DIY Fine Motor Toy that can be made with recycled materials and you can TOTALLY customize it too?! What more can you ask for?!
To make this DIY Toddler Toy, I used Polyshrink Artist's Grade Shrink Plastic, which I found at a very good price at American Science Surplus, which I happen to live near. If you have a large takeout container made of #6 plastic this will work just the same. This heart toy was drawn touching all four sides of an 8″X10.5″ sheet and once baked it was 3.25″X4.25″… so you will want to be sure it is a big container!
I made this toy heart shaped because Valentine's Day is coming up. You could choose any shape you want though. The easiest would be to simple round the corners of the sheet of shrink film. No tracing needed! You could personalize this in so many ways- different shapes, write a message on it, use a favorite color for the ribbons- or a whole rainbow of colors!
For more tips on working with shrink film, shrinky dinks and #6 plastic, check out my Tips for Using Shrinky Dinks post.
Did you go read that post? Because I can wait. You should really read it before you go make your own. Just sayin….
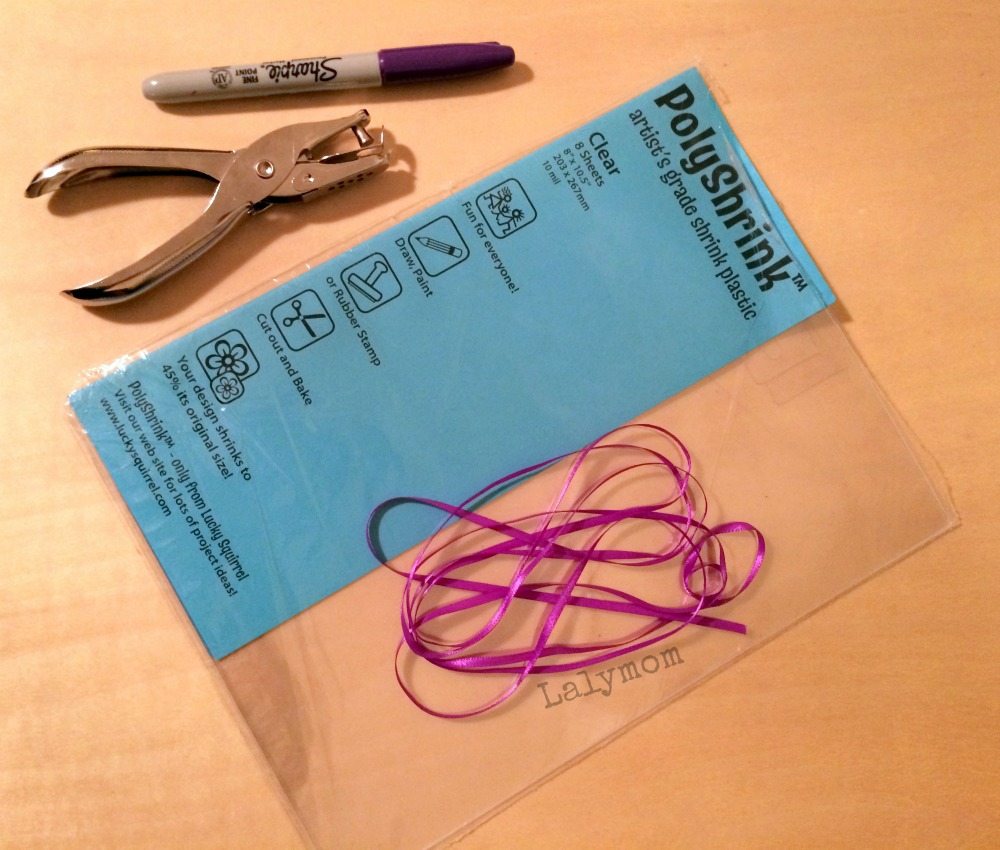
DIY Toddler Toy Materials:
affiliate links included for your convenience….
Shrink film (Shrinky Dinks![]() | Polyshrink | Grafix) or large #6 plastic container
| Polyshrink | Grafix) or large #6 plastic container
Thin ribbon
Sharpie Marker![]() (optional)
(optional)
DIY Toddler Toy Tutorial:
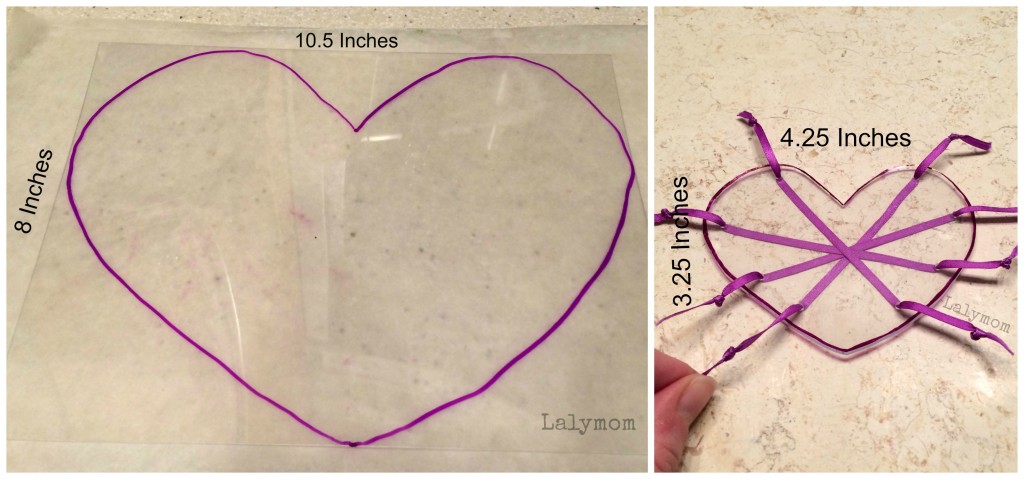
1. Prep your shrink film! Decide what shape you want to make your toy and either trace it, draw it freehand or just cut if you're brave! Go slowly when cutting. Once cut, decide how many ribbons you want to use and use the hole punch to make two opposing holes for each ribbon. If you want an outline on your shape be sure to add it using the Sharpie Marker before baking, but you can also leave it with no colored outline. Be sure you have not left any pointed corners- round them all at least a little bit.
2. Shrink it! For store bought shrink film, follow the directions on the brand that you have. For Polyshrink, and for #6 plastic, I go with 325 degrees. I like to sandwich my shrink film pieces in parchment paper to reduce curling, you just may have to lift the parchment to take a peak. As I state in my shrinky dinks tips post, every piece of shrink film and every oven varies- therefore there is no set bake time for shrinky dinks. Mine usually take around 15 minutes, especially for one this big. Yours may take way less time than that. It won't hurt to leave them in longer, but just keep an eye on it. It will curl like crazy. That is normal. Once it has returned to being flat and stopped shrinking you can take it out and lay something heavy and flat on it. Let cool before handling.
3. Ribbon it! Tie knots in one end of each ribbon (I needed to knot it three times before the knot was big enough to not fit through the holes). Feed the ribbons through the opposing holes and knot off the other end.
Note: My good friend Georgina at Craftulate made some shrinky dinks this weekend (post scheduled soon, I can't wait!) and had the great idea to place a pan on top of the shrinky dinks while in the oven to keep them flat. I tried it and it worked great! I love it when a crafty friend comes up with a good idea!
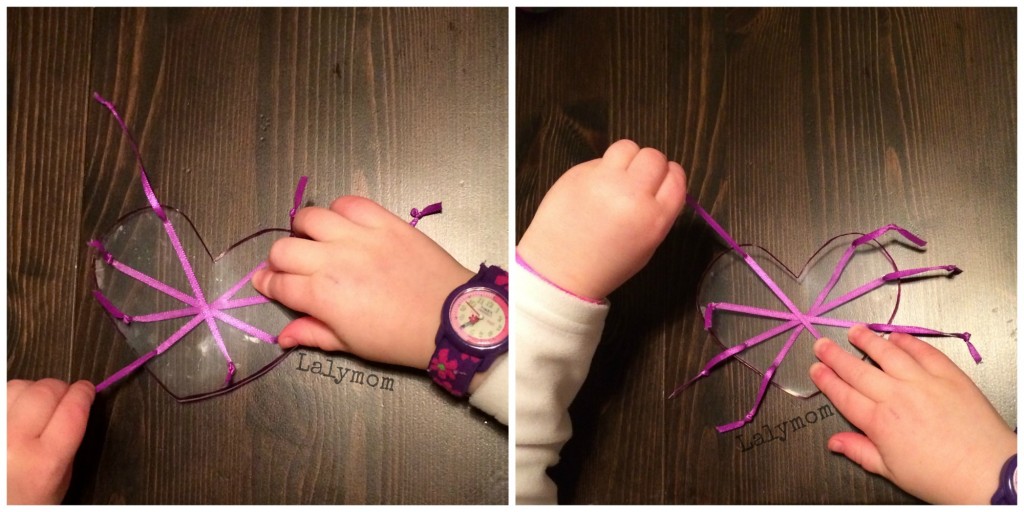
Ta-da! Not only did you just make a cool shrinky dink toy, but you've made a cool DIY Toddler Toy to Develop Fine Motor Skills! This photo is actually of my 3 year old playing with our new toy. She liked to pull each ribbon in turn, saying one word for each ribbon: “Criss. Cross. Apple. Sauce.” as she went along. My 16 month old son also played with it but well…he does not stop moving so all the photos were blurry. I will say that he wanted to pull the ribbons all the way out and as he kept pulling, the toy went flying a couple times. So maybe I'll add longer ribbons at some point. But I will say this, it is very sturdy!
Want more awesome Shrinky Dinks Ideas?? Check out my Cutting Practice Princess, Rolling Car & Truck Toys and Jointed Robot! If that is not enough, you should hop on over to my Shrinky Dinks Pinterest board! I can't get enough of these things! They're like a certain brand of potato chips- once you pop, you can't stop!
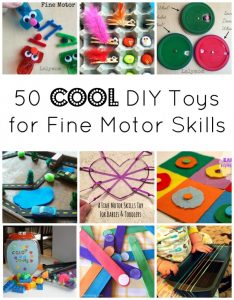
OH! And if you are looking for recycled toy ideas, this idea was featured on my list of 50 COOL DIY Toys for Fine Motor Skills!
Fine Motor Fridays
As we have been doing since…October…we are teaming up with a group of bloggers to bring you a collection of original ideas to help kids develop fine motor skills! We are welcoming another new member to the group this week: Nicolette from Powerful Mothering. You can find a variety of parenting and crafting topics over at Powerful Mothering and we are thrilled to have Nicolette join us! Please click on through to see what other great ideas we've had this week!
Fine Motor Skills Preparing Valentines Snacks from Little Bins for Little Hands
Broken Hearts: Valentines Cutting Practice from School Time Snippets
Valentines Heart Mobile with Fine Motor Practice from Powerful Mothering
Snowball Pick-Up & Transfer from Stir the Wonder

Thanks for reading my post today! If you enjoy trying simple, playful activities with your baby or toddler, I invite you to check out a lovely collaborative eBook that I contributed to. Zero to Two ~ the book of play is chock full of easy activities, step-by-step tutorials and inspiring photographs from some of the top kids bloggers from around the world! There is an index that helps you select the perfect activity based on your child's stage in life and many of the activities are perfect for multiple siblings of different ages to do together! Learn more here!


I haven’t done Shrinky Dinks in forever. How cool to turn them into a fine motor toy!
Love this shrinky dink pull toy!! Would be great for travels & while out &about! So creative!
oh this one came out gorgeous!! love it!
Thanks so much for linking up at Mom’s Library this week. I am so glad to feature this easy to make pull toy!