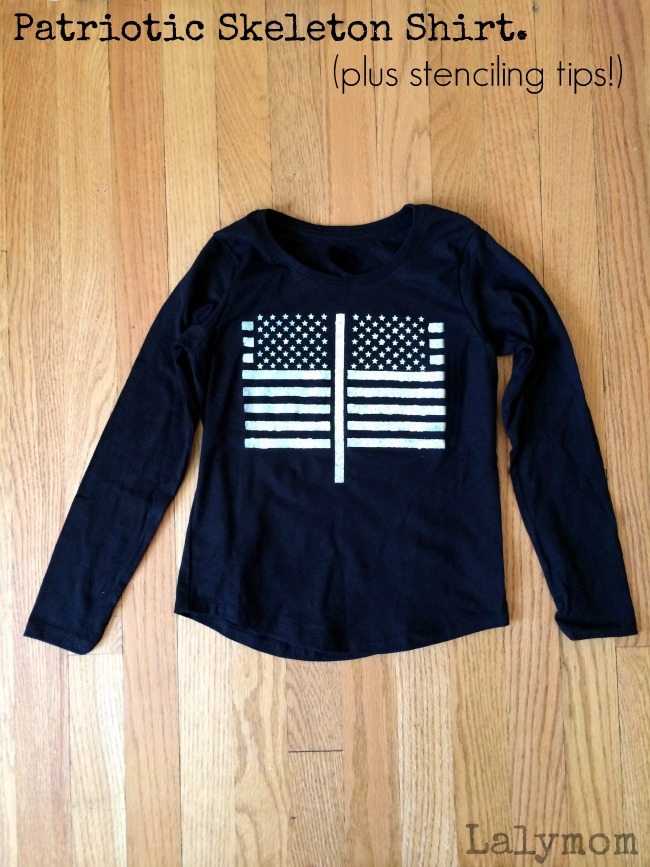
Patriotic Skeleton Shirt for Unique Halloween Costumes – Plus Stencil Tips!
Today's post shows you how to make a Patriotic Skeleton t-shirt for unique Halloween costumes! I'm thrilled to present this sponsored post using FolkArt Stencils & Paints! You read that right, This is a sponsored post from FolkArt, Plaid, and Blueprint Social. I received materials and compensation to create a project. Finished project, text, tips and opinions are my own.
I am a big fan of FolkArt so when the opportunity arose to work with them I was pretty excited! They were kind enough to send out materials for the project but I didn't know what kind of stencil I would be getting so it was kind of like a cool craft challenge!
I was surprised to receive an American Flag stencil but I was going to bed that night and this project just popped into my head! You can buy ready made skeleton t-shirts but I LOVE giving a unique spin to things that you see in stores. I think this patriotic skeleton is just right!
I had stenciled a bit in the past but it was years ago and I needed some refreshing! It just so happens that I went to find out some product information on the Stencil1 website and found out that they offer super helpful video tutorials! That was not part of the sponsored post- I just found it and liked it!
I've added my own tips that I found helpful at the bottom for you!
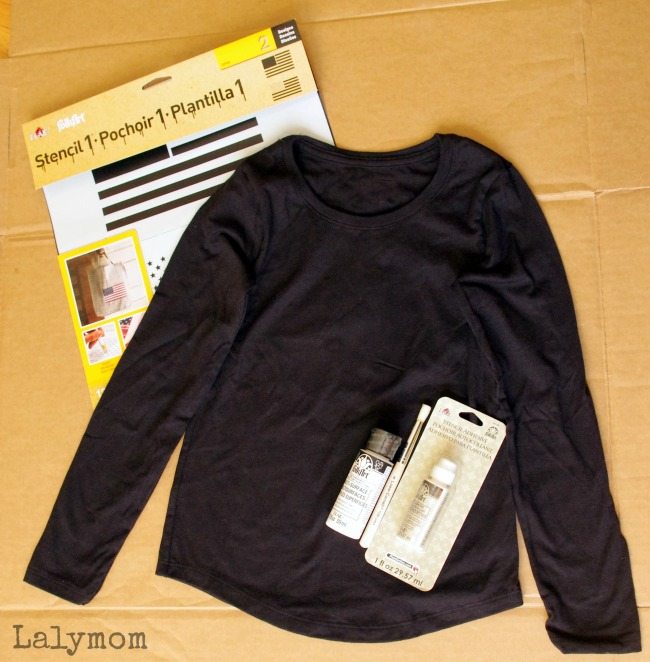
Materials:
1 Black kids t-shirt
1 set of flag FolkArt Stencil1 stencils
1 bottle of FolkArt Stencil Adhesive
1 bottle of FolkArt Multisurface Paint in Titanium White
1 Stencil Brush
1 Shoe Box or cardboard box that fits inside your t-shirt and paper plate for the paint
Instructions:
Start by pre-washing your shirt. When clean and dry, insert the show box into the shirt to protect the back of the shirt. Check to see that it is aligned straight and that there is equal distance to the side seams on each side.
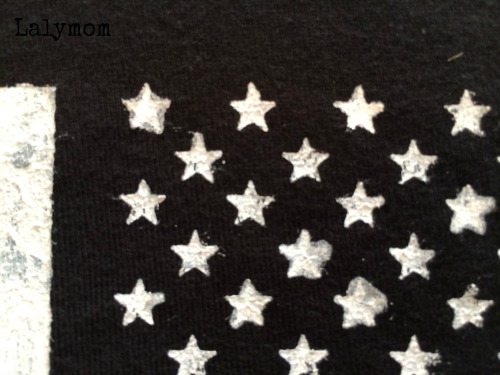
Apply your stencil adhesive to your stencil- and do it carefully and fully! With such an intricate design you want the edges of the stars and stripes to stay put! When it is dry, stick your flag stencil to the shirt with one stripe going right down the center.
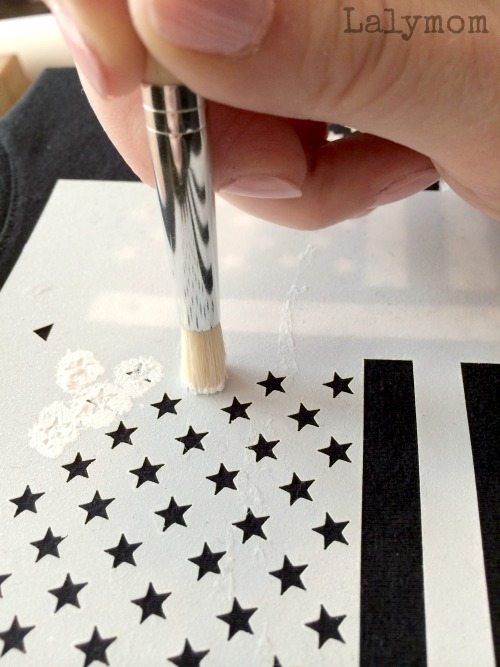
Pour some paint onto a paper plate and dip the tip of your stencil brush into it, blotting it off a bit on the plate. Holding the brush straight up and down, and press the paint down, dabbing up and down until that one single center stripe is covered. Remove the stencil. Wait for that paint to be dry to the touch. While you wait, wipe the paint off the stencil.
Stick the stencil to the shirt with the stars aligned with the top right of the center strip. Having the shoe box inside the shirt will provide you with a natural stopping point for the stripes. Repeat painting process, filling in each star and strip to the end of the box. Allow that paint to dry and stick the stencil back on to do two more stripes.
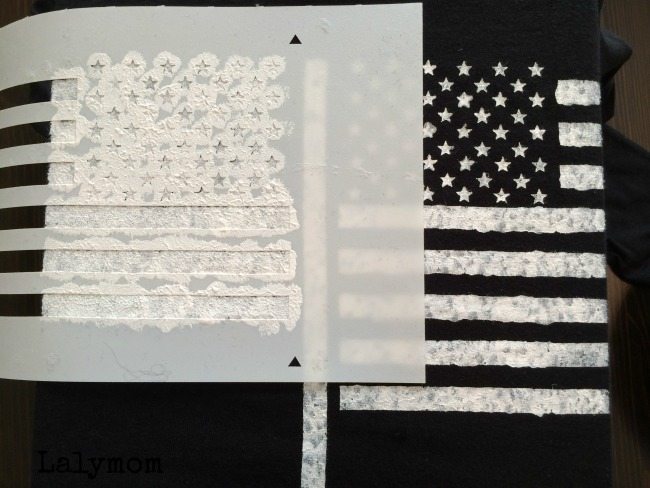
Wipe all the paint off the stencil, be especially careful with this part since we are going to flip the stencil over now.
Apply the stencil adhesive to the other side and once dry, press it down onto the shirt on the left side of the center line. Repeat the paint process for this section, allow that paint to dry and repeat the bottom two stripes.
Let it dry and you are done, my friend! You can add this to your collection of totally rad, unique Halloween costumes!
Tips for Stenciling:
-Practice on spare fabric before attempting your final project.
-Leave extra time since you will have to wait in between each section for the paint to dry a bit.
-Always use stencil adhesive to be sure your paint does not bleed under the edges of your stencil. This is how I learned! Take a look at that top left star!
-Hold your stencil brush straight up and down, and press it up and down, not back and forth in brush strokes.
All in all this was a super fun project! Be sure to check out FolkArt and Stencil1 around the web!
Plaid & FolkArt:
- Check out The Plaid Palette blog
- Sign up for their newsletter
- Follow on Pinterest
- Like Plaid on Facebook
- Follow on Instagram
- Follow on Twitter
- Watch Plaid on YouTube
- Follow Plaid on Google+
Stencil1:


One Comment