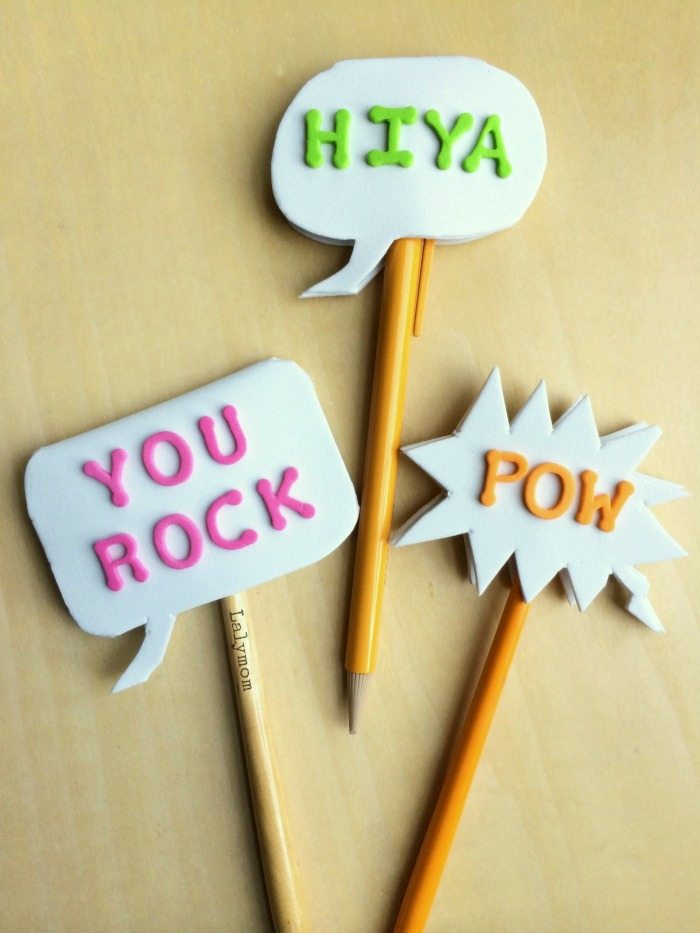
Back to School Crafts: Conversation Bubble Pencil Toppers
Back to school season is getting started here and it always reminds me of shopping for school supplies. Yesterday's Pool Noodle Pencil was silly and fun, but I think today's super cool back to school crafts would make fun additions to any pencil case! They are super simple Conversation Bubble Pencil Toppers!

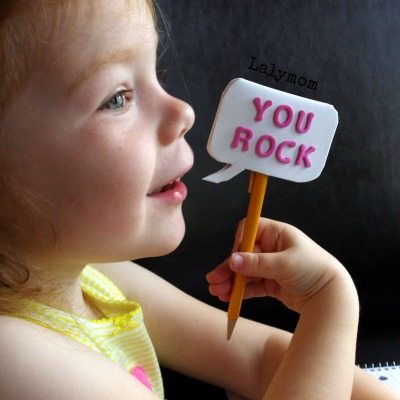
My daughter had a great time modeling these. I explained what they were and asked her to tell me jokes while she held them up by her mouth.
“What did the banana say?!… UNDERPANTS!! AH ha ha HA!” The comedy gene runs strong in our family, can you tell?!
These super simple pencil toppers will only take you as long as it takes your glue to dry…I tried tacky glue for the first one but realized that hot glue would dry much faster. Up to you what you want to use!
Here is how to make your own! You can change up the sayings on the front and back, personalize it any way you want or let the kids make their own!
RELATED: Back to School Celebration Pack
Note that when using craft foam your fingernails, scissors and other items can leave an indentation on the foam, so just handle the foam carefully if this would bother you!
Back to School Crafts- Pencil Toppers Materials:
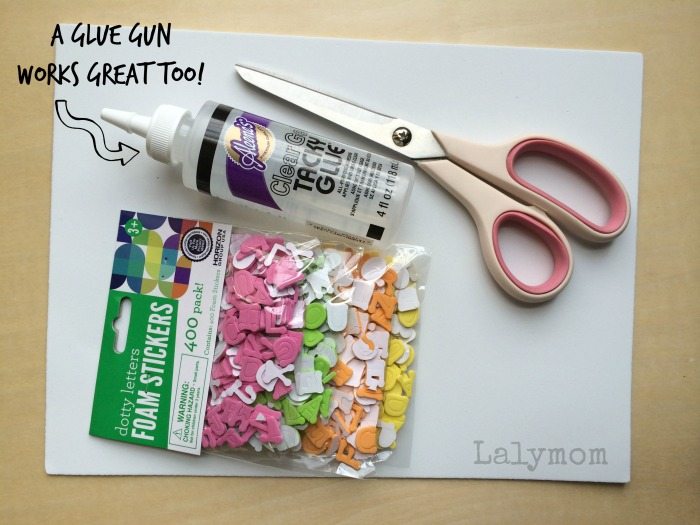
White craft foam
Tacky Glue or a hot glue gun and glue sticks
Foam letter stickers (provided for free by CraftProjectIdeas.com)
Scissors
Back to School Crafts- Pencil Toppers Tutorial
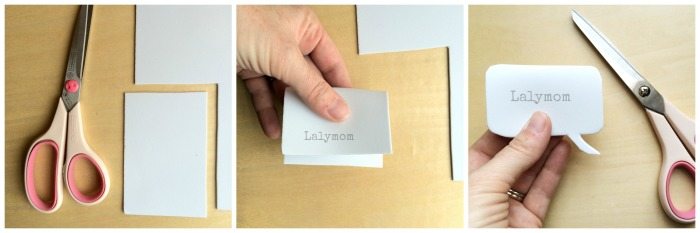
Prep the foam: Cut a rectangle from your white craft foam (mine was roughly 3X5 inches). Fold it in half. Using your scissors, round the top two corners. Trim off about a half inch of the bottom, except for the little conversation bubble part. Round the bottom corners to match the top corners.
Glue: With your Tacky Glue or working quickly with a glue gun, glue the sides and the conversation bubble dangly thing together. (I did not seal the bottom edge at all so the pencil could fit.) Set aside to dry. If you use the Tackly Glue you may want to set something flat on top to hold it shut while it dries. Clips will leave marks.)
Add Words: Remove the backing of the foam letter stickers and add them as desired. If you don't have letter stickers you could also use markers and write on the foam.
Done! Pop it onto a pencil and have WAY too much fun! What message would you put on yours?
If you enjoyed this post please pin it or share it on facebook!
More Back to School Crafts & Ideas:
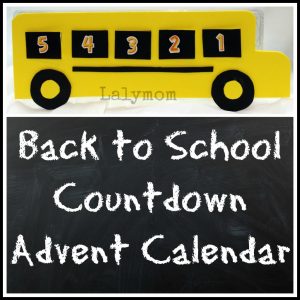
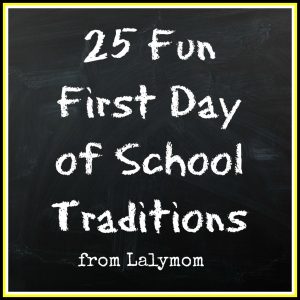
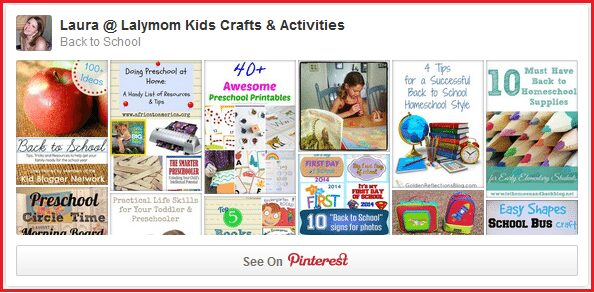
For more back to school crafts, activities, recipes and ideas, check out Back to School Countdown Calendar, 25 Fun First Day of School Traditions and my Back to School Pinterest board!
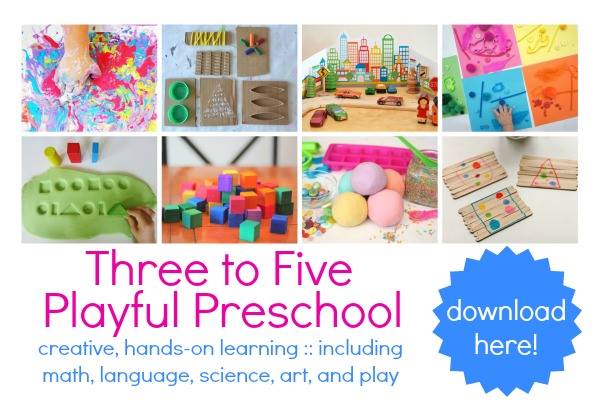
GOT PRESCHOOLERS?! If you enjoy trying simple, playful activities with your preschooler, I invite you to check out a lovely collaborative eBook that I contributed to. Three to Five: Playful Preschool is chock full of approachable activities, step-by-step tutorials and inspiring photographs from some of the top kids bloggers from around the world! There is an subject-based index that helps you select the perfect activity based and many of the activities are perfect for multiple siblings of different ages to do together! Learn more here!

This craft looks great! Thank you for sharing, very fitting for school. I would like to share some clay crafts I have found that I think are neat.
http://blog.famtivity.com/six-creative-crafts-to-make-with-air-dry-clay/
Such a cute idea! It’s always fun to do little things to get the kids excited about going back to school.
Thanks! Yes I think it makes the transition a little more fun! Hope you have a good school year!
yes! I love that. That will be fun to do tomorrow on break with my girls!!! Thanks so much, so simple, but so creative.
Hooray, hope you all had fun with it!