Photo Story Stones for Family or Classmates
Happy Wednesday, it's another day of Frugal Fun for Boys' Craft Closet Boredom Busters Week! Today I'm sharing how to make story stones using family or classmate photos! I've added a couple affiliate links to this post for easy shopping, FYI.
In our back yard we have a small area next to the house that we call the rock pile. It's really just an area without grass where we didn't want weeds to grow and there were some rocks there when we moved in so we added more.
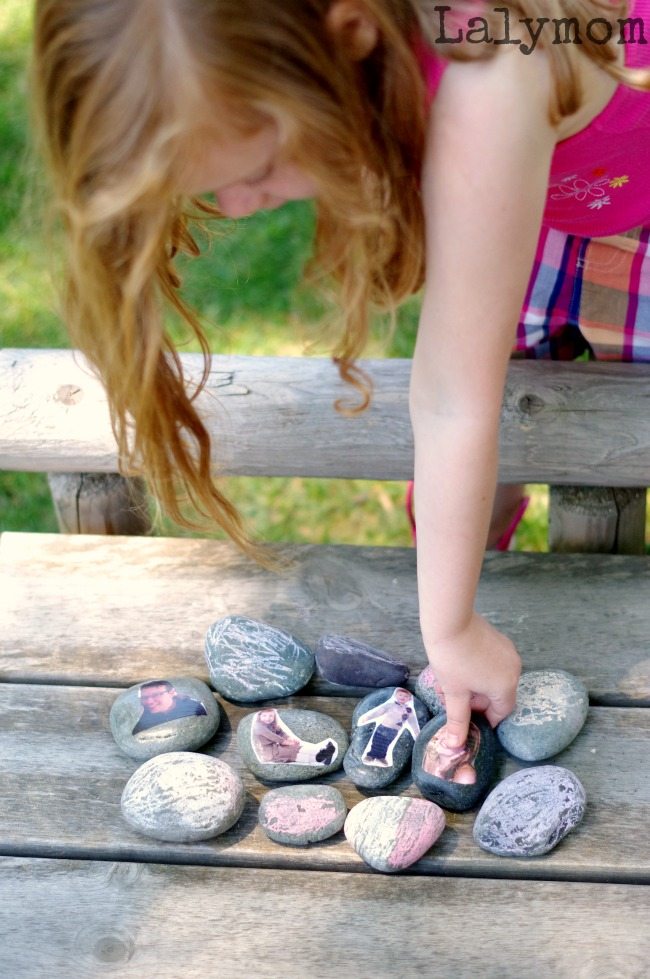
The kids love playing with the rocks and the ones we have there are nice smooth unpolished beach pebbles, like these.
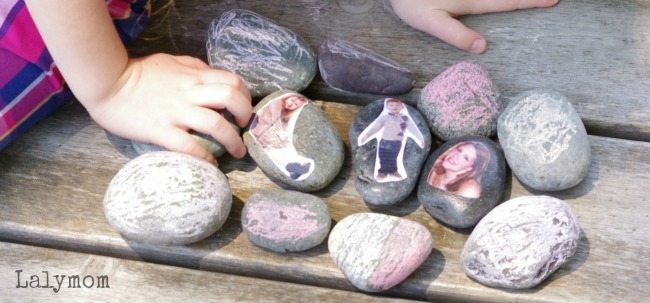
One day my kids were picking out rocks for a rock family, which was super cute. It made me think of story stones and how it would be fun to make some with pictures of our family!
They were super simple to make and have been lots of fun to play with! The tutorial is below if you want to see how to make your own. I think the would be fun to make for a family, like we did, or using class pictures for all the classmates to have their own story stone.

How To Make Photo Story Stones
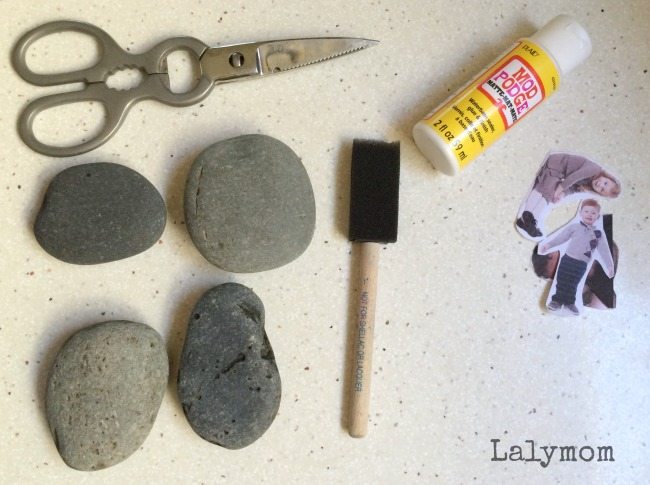
Materials
Flat, smooth beach pebbles
Mod Podge (I used matte)
Printer
Plain Paper
Scissors
Instructions
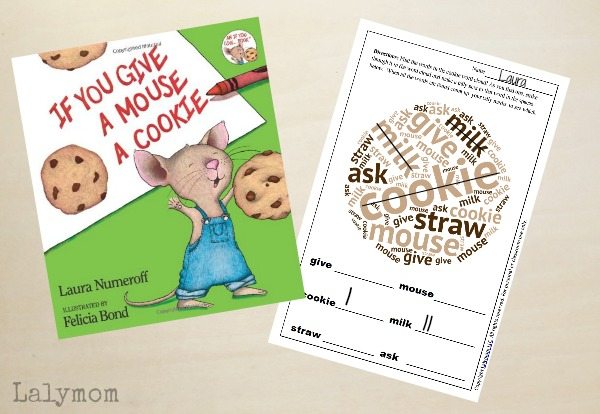
Prep the photos. Find photos on your computer and add them to a Microsoft Word document. Looking at the rulers on the side of the document, resize the photos until the portion you want to use is the size of your stones. Print the document and allow the ink to dry. Cut out the images that you want to use.
Prep the stones. Choose stones that match up to the photos you cut out. Wash them off so there is no dirt on them and allow them to dry.
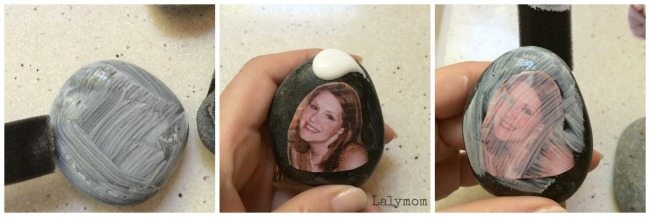
Apply the photos. Using the foam brush apply a layer of Mod Podge on the flat side of your first stone. Press a photo onto it, gently using the pad of your finger press down around the edges. Try not to rub back and forth across the photo but use an up and down motion to avoid smearing the ink. Let it sit while you repeat with the other stones. Once you've done all the stones, start back at the first one, pour a bit of Mod Podge onto the rock, next to the photo and, with as few strokes as possible, cover the photo with the Mod Podge. Let them dry according to the package directions. You can also Mod Podge the bottom side of the rock if desired.
So…That's the story! Hardy-har-har!
Craft Closet Boredom Busters
Check out Frugal Fun for Boys' Craft Closet Boredom Busters Main Page for all the fun ideas, and click through to the other posts from today below!
Car Race Counting Game from Frugal Fun for Boys
Craft Rope Ornament from The Educators' Spin On It
Pet Store Scavenger Hunt from Toddler Approved
Cloud Pictures in the Sky Tool from JDaniel4's Mom