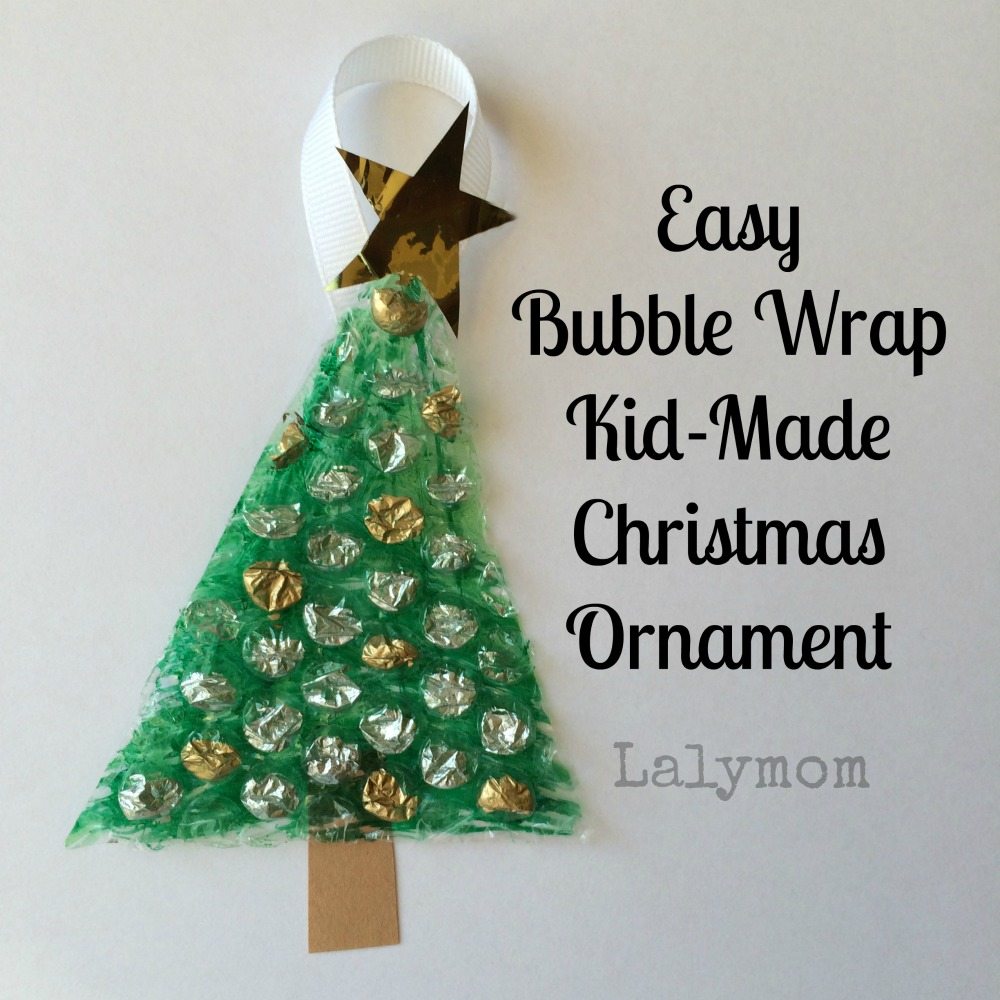
Easy Bubble Wrap Kid-Made Christmas Ornament
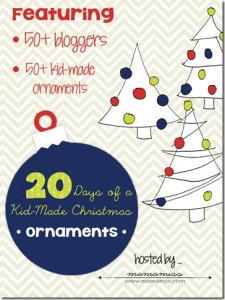
Today we are joining with Mama Miss and a huge group of lovely bloggers for the 20 Days of Kid-Made Ornaments Series. Our ornament is pretty easy to make but I did have to try out several different combinations of paint and markers to get it right!
To start I took some bubble wrap and did my test patches. I tried Crayola washable markers and they were streaky and wet on the plastic. I tried washable finger paints but they dried very matte and flaked off after they dried. I tried sharpie permanent markers and they dried nicely. I like them for the green of the tree. Then I tried the other colors of the sharpies to color some ornaments on the bubble side and they were too translucent, I didn't think they stood out enough. Luckily I had some permanent paint markers left from our Father's Day Mugs. The silver and gold markers were just the thing to color each of the bubbles to make ornaments on the tree!
So there you have it, and here is how to make one of your own. Please use your best judgment as to which steps your child can do- with or without help! I recommend you supervise the use of these materials the whole time- they are permanent markers.
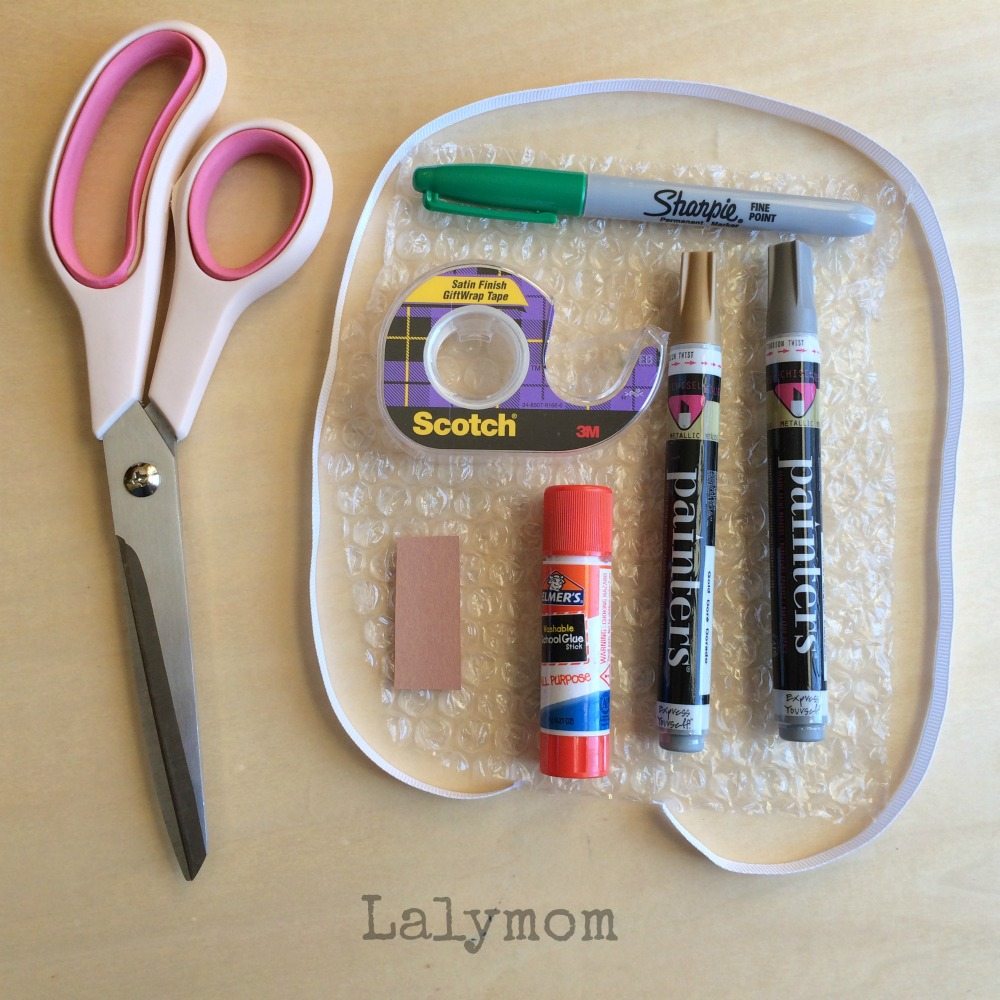
Materials for Easy Bubble Wrap Kid-Made Christmas Ornament:
Bubble Wrap
Green Sharpie Permanent Marker
Permanent Paint Pen Markers
Star sticker or other decoration for the top of the tree
Brown construction paper
Ribbon or string to hang it on the tree
Scissors
Glue
Directions for Easy Bubble Wrap Kid-Made Christmas Ornament:
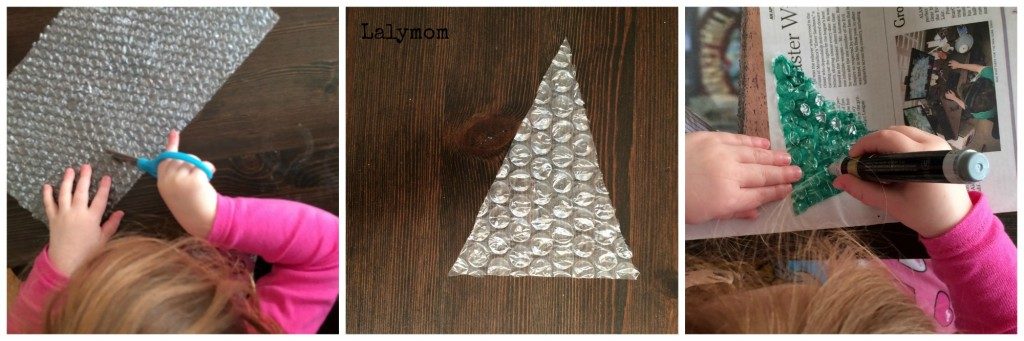
Cut a triangle of bubble wrap (mine is about 4 inches tall by 2.5 inches across the bottom)
Color the flat side with the green sharpie. Trim a rectangle from the brown paper and glue to the flat side for the stem. Allow the marker and glue to dry.
Flip over so the bubble side is facing up. Color the bubbles with the paint markers. Allow the paint to dry,
Trim the ribbon or string to the length you want and glue (or tape) to the back.
Glue or stick the star on the front on top. Allow everything to dry. Hang on the tree!
Looking for more Kid Made Christmas Ornaments?
Check out my Frugal Shrinky Dinks Kid-Made Ornament and then head over to Mama Miss for the rest of the 20 Days of Kid-Made Ornaments series!! You can check it out below and be sure to follow the pinterest board so you can pin and share your favorites easily!
Follow Melissa {mama♥miss}'s board Kid-Made Christmas: Ornaments on Pinterest.
Would you like to join in on the fun too?!
Here’s how:
-
Go to the landing page here, for this series that Melissa at Mama Miss is hosting.
-
Just link a KID-MADE ornament you’ve created with your kiddos (limited to 2 a day).
-
Add this pretty little ornament shaped button below to your blog post, or your sidebar, or somewhere on your beautiful blog letting me know you are joining in on the fun too!!
-
Label the ornament button: 20 Days of a Kid-Made Christmas: Ornaments
-
Link the ornament button to: the landing page for this series.
The link up will be open from December 1st until December 21st for all entries.
Make sure to pop by these other fabulous bloggers too, that are participating in this series…
December 1st
December 2nd
December 3rd
December 4th
December 5th
December 6th
December 7th
December 8th
December 9th
December 10th
December 11th
December 12th
December 13th
December 14th
December 15th
December 16th
December 17th
December 18th
Discovering The World Through My Son's Eyes
December 19th
December 20th


Love this cute idea – and we have a lot of spare bubble wrap around at the moment!
What a fun way to reuse bubble wrap! Not sure I’m ready to bring out the permanent markers though. You’re braver than I! 😉
These have worked out so well, what a great idea.
Great use of bubble wrap to create a Christmas tree. Awesome post!
Thank you!