

How to Make a LEGO Picture Frame (2 Styles, Easy DIY, Any Size)
Here’s how to make a LEGO picture frame from regular bricks, sized to fit any photo. Below you’ll find a simple rectangle frame, plus a MOM frame with exact brick counts for Mother’s Day. This post contains affiliate links.
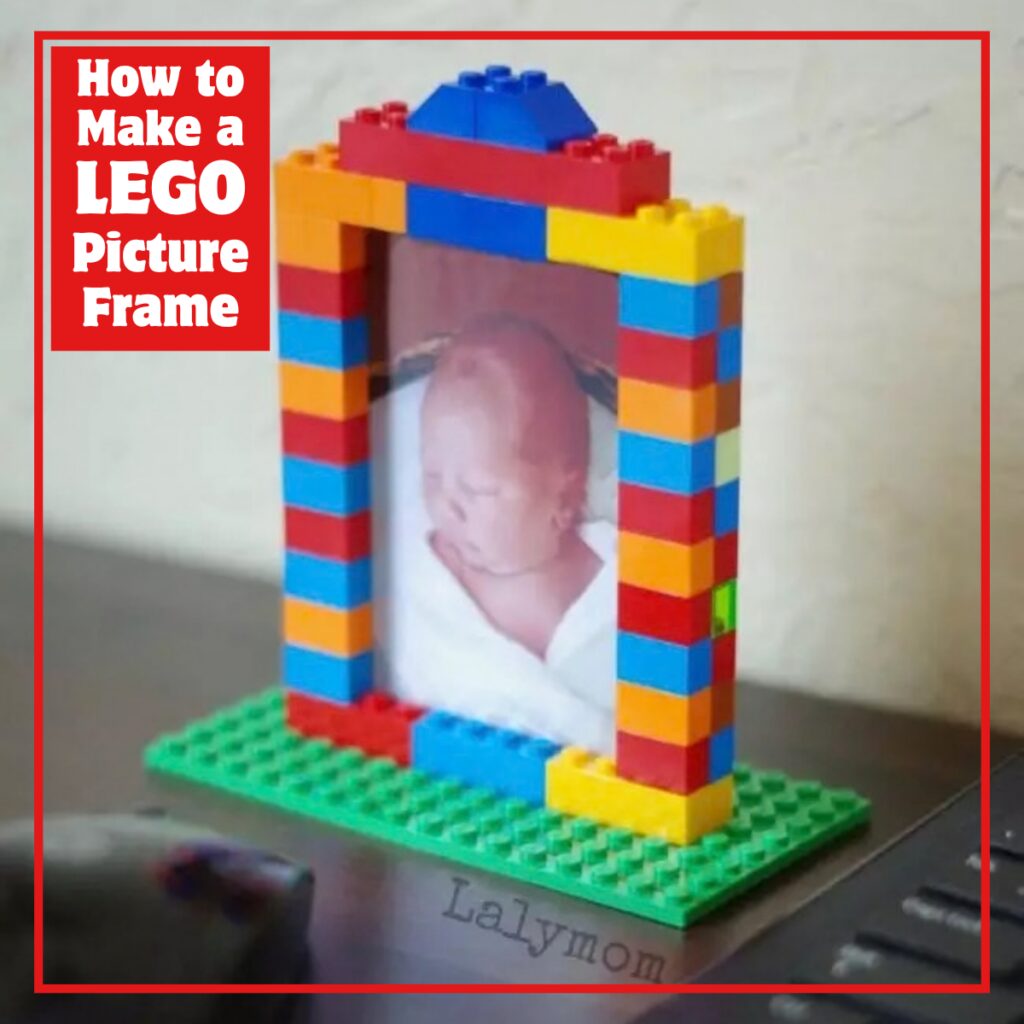
These two different, super cute, simple LEGO picture frames took a lot of trial and error. They also took a bit of patience, but since I did all the hard work for you it will go much quicker for you!
If you are buying a LEGO set specifically to make these, we have this cottage set and this basic set and used pretty much all available 1×2 bricks to make the MOM frame. The other one also requires a lot of size 1×2 bricks but can be made any size you want.
If you’re looking for even more LEGO building inspiration, make sure to check out The Unofficial Guide for Learning with LEGO. It’s pretty awesome, if I do say so myself.
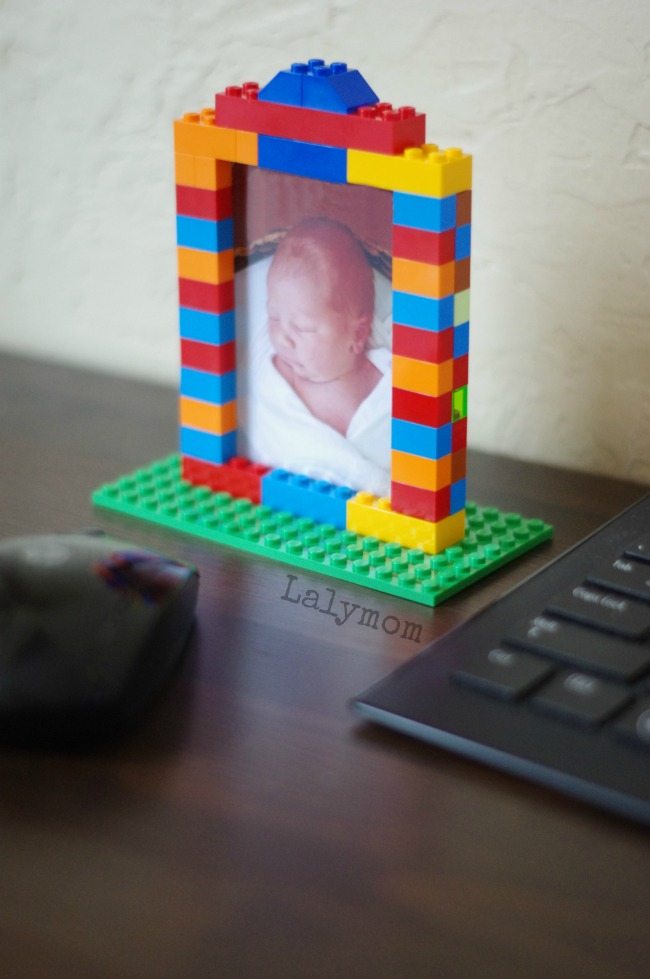

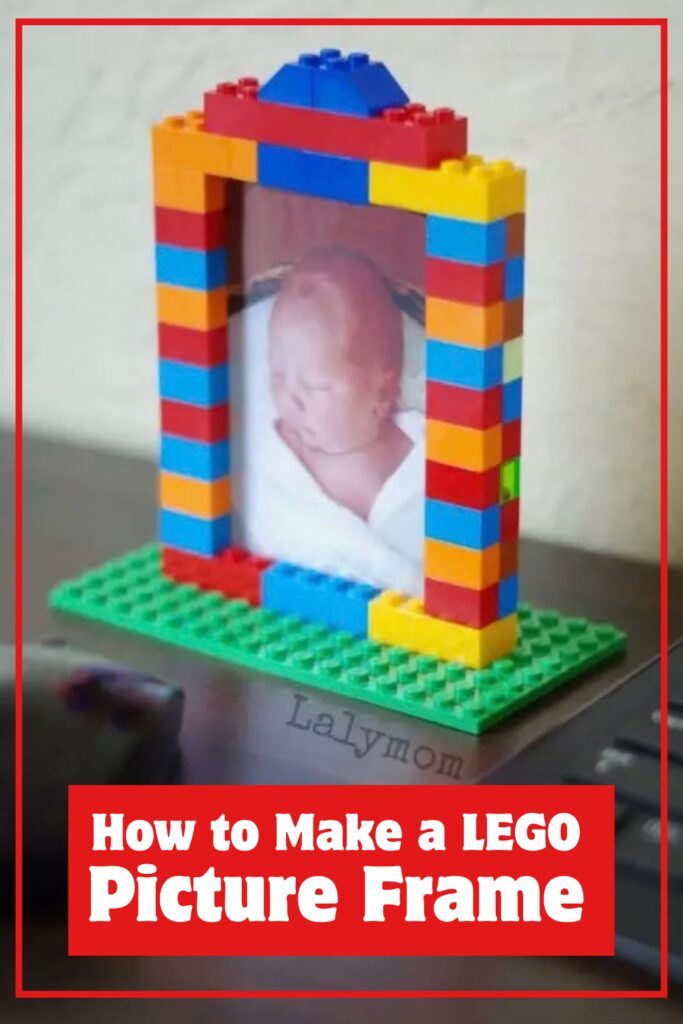
How to Make a Rectangle LEGO Picture Frame
- Build 4 pillars of 1×2 bricks, each as tall as your photo.
- Lay a base of 2×4 or 2×2 bricks as wide as you want the frame. About ¼ inch on the left and right of your photo will be covered by the frame. The top and bottom are not covered.
- Attach 2 pillars on each side of the base.
- Cap the top with 2×4 or larger bricks. Use more bricks across the top for a wider frame.
- Trim your photo as tall as the opening, but wide enough to be held in place by the pillars, and slide it in.
Mom LEGO Photo Frame
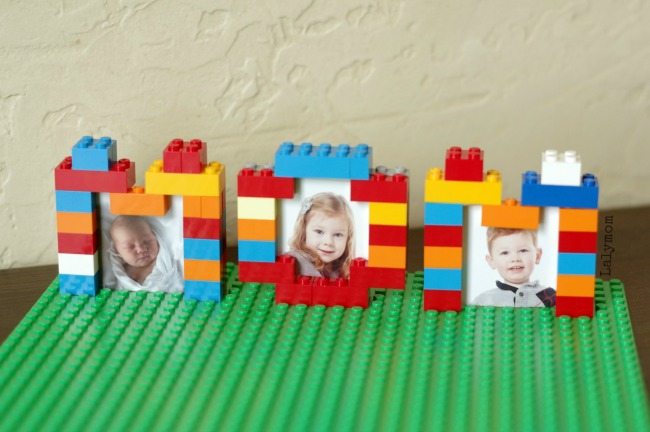
To make the Mom LEGO frame you need:
- 54 1×2 bricks
- 10 1×3 bricks
- 6 2×4 bricks
- 4 2×2 bricks
- a base plate
Quick link: We used bricks from the LEGO Medium Classic basic set.
To make both Ms you need to make 8 pillars of 1×2 bricks, with 5 bricks each. 4 of them will be the fronts of the Ms and 4 will be the back, so choose your colors for 4 of them accordingly.
Press them into your base plates, 2 next to each other to form the vertical lines of the Ms. You will leave 5 studs between the vertical lines for each M. Connect the vertical lines with 2×4 bricks on either side, and one 1×3 in the very center (the orange pieces right in the center). The 2×2 bricks on the top are just to make it look more like an M.
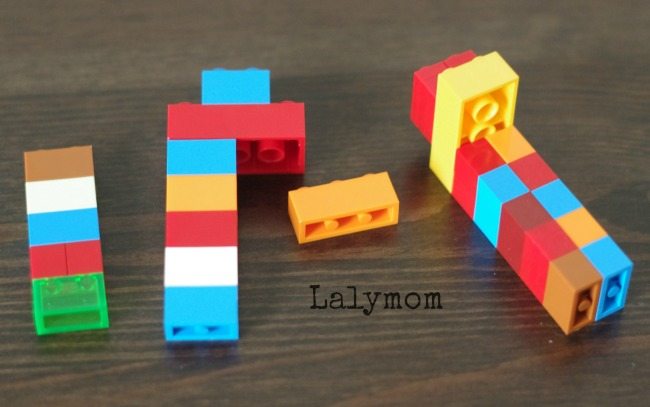
To make the O, make four pillars of 1×2 bricks that are each 3 bricks tall. Add 1×3 bricks on the tops and bottoms of each of those pillars. Attach a 1×2 and 2×4 brick to the base plate where you want the O. (In the photo I used a 2×3 and a 2×2, you can do either). Next attach two of those pillars to each side, only on the studs that stick out from the pillars. Cap the O with another 1×2 and 2×4 (or 2×2 and 2×3) and you are all done.
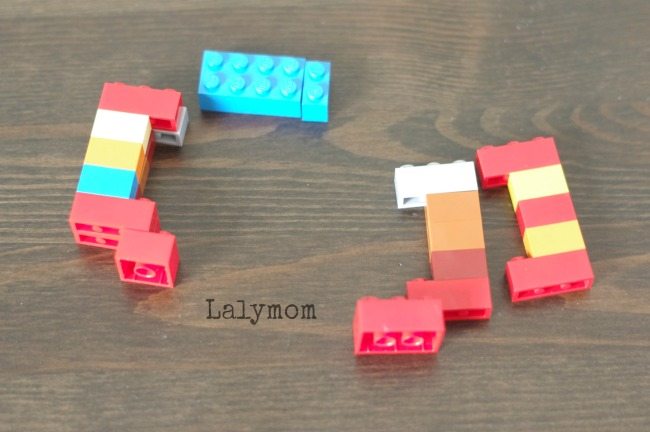
To trim your pictures, be sure to cut them exactly as tall as the opening but wide enough to be held in place by the pillars of LEGO. You can either slide the photos in the slots or remove the tops and add them that way.
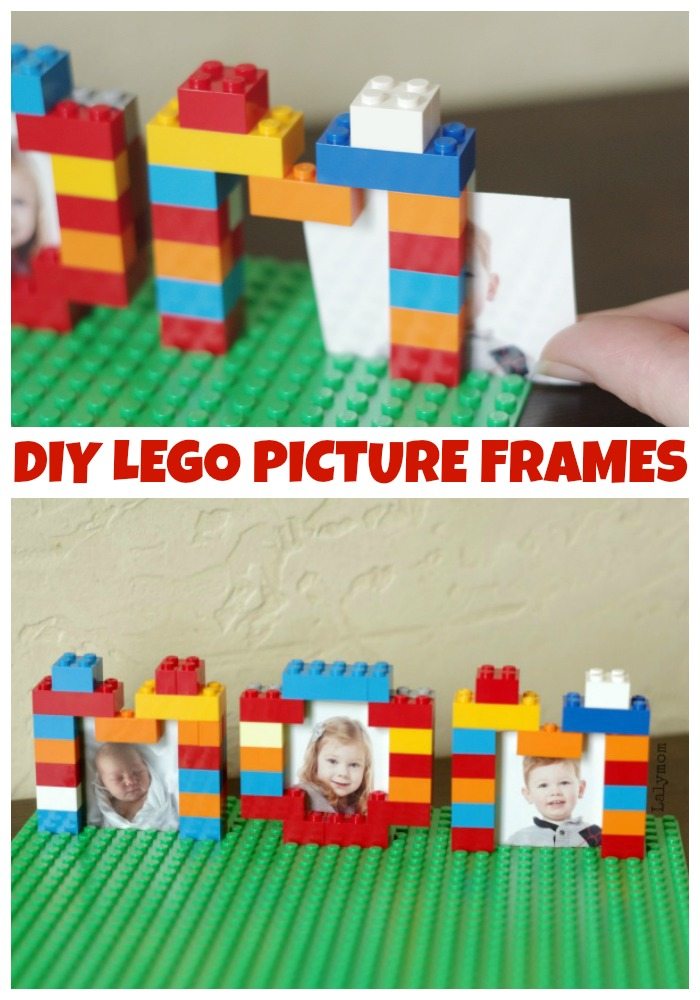
Who do you know that would love these LEGO Picture Frames?! Let’s hear it in the comments. Remember to pin and share this if you like it! Also stick around to see all the other ideas below!
More LEGO Gifts to Make:
Ready for more LEGO Gift Making Goodness? Check out these posts:
- 20 Epic LEGO Gifts to Make
- How to Make a LEGO Pen Holder
- LEGO Build Challenge Cards
- 5 Cute LEGO Birthday Card Ideas
LEGO Week

Be sure to hop over to the 2nd Annual Toddler Approved LEGO Week page to see even more ideas.


LOVE these! SO brilliant!
Laura, you never cease to amaze me! This is so awesome! Where were you when my kids were little?
Love, auntie