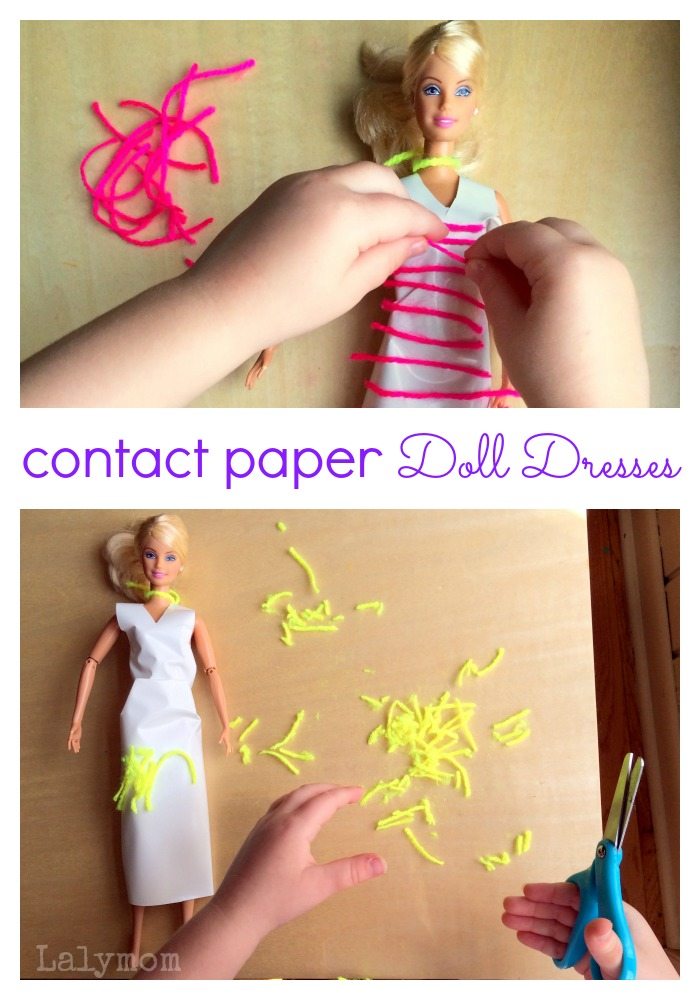
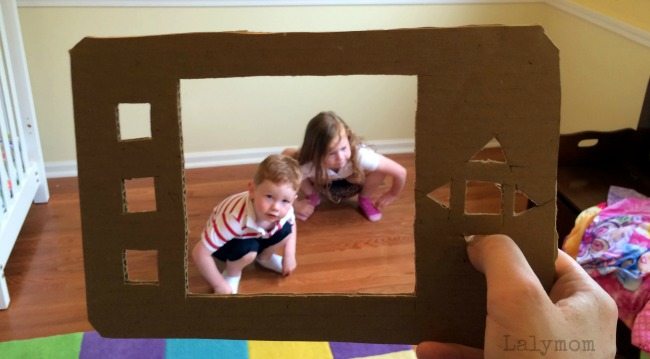
Contact Paper Doll Dresses
Happy Fine Motor Friday! We are going a little crazy with contact paper lately after last week's sticky dresses and robot outfits. This contact paper doll dresses activity is pretty similar but my daughter loves it so much I though I'd share it too!
If you saw last week's post, you know that my daughter really took to the idea of making outfits out of contact paper. For everyone. Including dolls and (stuffed) pets. I thought, this could blow through a lot of contact paper if we are making full size contact paper dresses for her, so let's roll with this doll dress idea! (Note: This post may contain affiliate links which won’t change your price but will share some commission.)
The same length of contact paper that we would use for a window collage or full size contact paper dress would yield about a dozen Barbie Dresses. I'm sure we will still do window collages and full size dresses or robots again some time but this was super fun and I could see a lot of kids loving this activity like my daughter does!
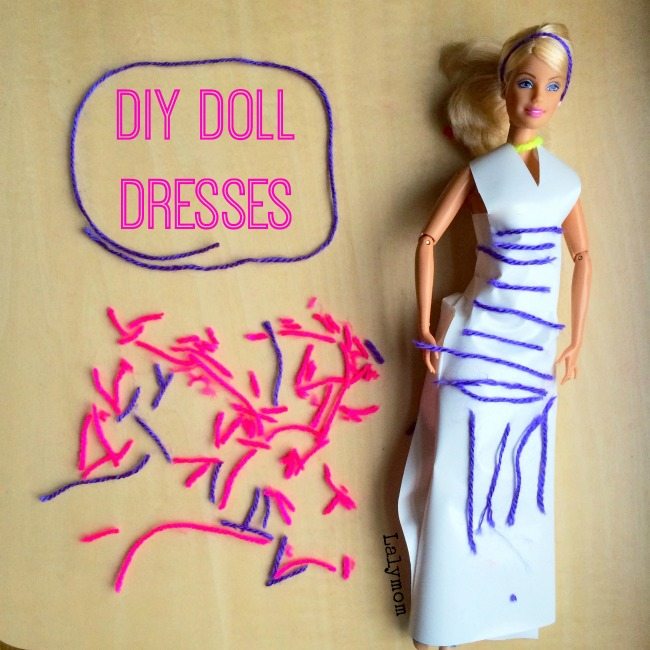
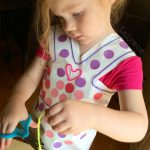
My daughter enjoyed decorating the dresses and cutting the yarn and I love that she was getting some fun scissors practice and using those tiny muscles in her hands and fingers to pick up and place all the yarn where she wanted it. Removing the decorations is also awesome fine motor skills work! If your child is able, she can also help assemble the dress. I cut the contact paper out for ours and asked my daughter to help pull the paper backing off.
Here is how to do it if you'd like to try your own! Of course use your judgement as to your own child's abilities and always supervise them with scissors and other craft materials.
Contact Paper Doll Dress Materials
Doll (we used a Barbie Doll, you will need to adjust the size for other dolls)
Colored yarn (or ribbon, other string, construction paper, nature items, recyclables and other found objects)
Contact Paper Doll Dress Tutorial
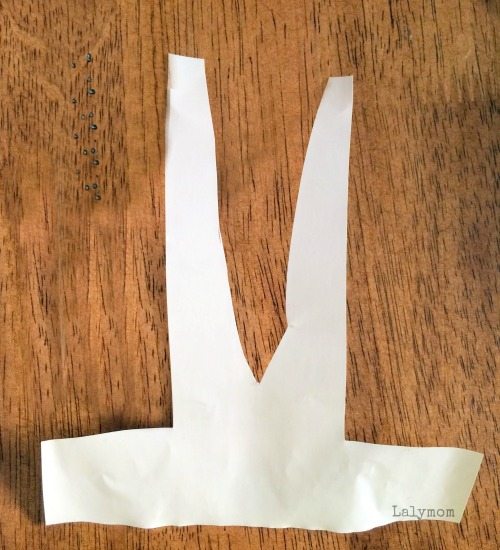
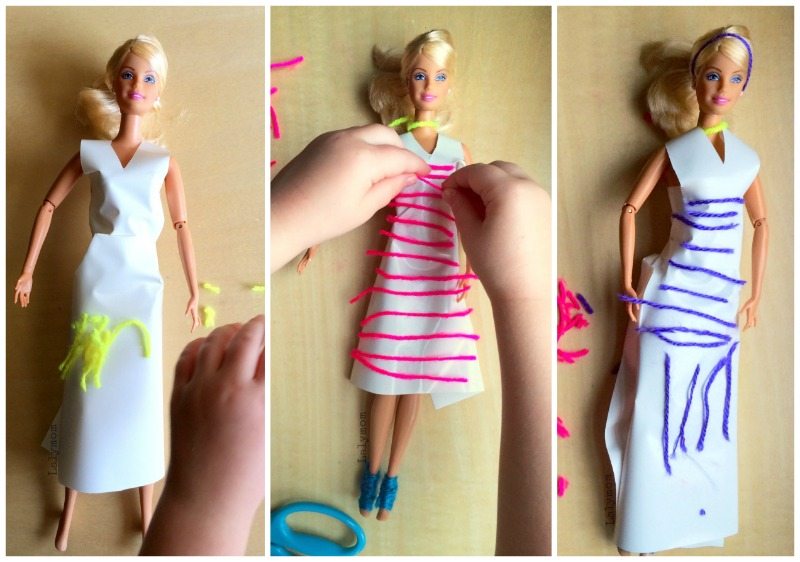
Prep the dress: Out of a 5 1/2 inch square of contact paper, cut the dress top, as shown. (I eye-balled it, the part that wraps around the waist is about 1 1/2 inch tall.) Cut the skirt 6 1/2 inches wide by whatever length you want, measuring down from about Barbie's belly button area.
Dress the doll: Remove the paper backing from the dress top. Sticky side out, wrap the dress top waist band around the doll's waist and overlap the ends where they meet at her back. Fold the should straps over the doll's shoulders and stick them the to each other and the waist band if you wish. Next remove the paper backing of the dress and with the sticky side out, line up the top of the skirt with the bottom of the dress top. Wrap it around the doll's hips and overlap it at the back, tucking the contact paper around the waist a couple times to make darts.
Design the dress: Show your child how to snip the yarn, string and other items with the scissors and stick it on the paper. Depending on the strength of your contact paper, you may be able to remove the decorations and repeat with the same dress a few times.
 That's it! If you enjoyed this project please pin it! Be sure to check out my other contact paper projects and my super fun DIY Kids Stuff Pinterest Board!
 Fine Motor Fridays
 Fine Motor Fridays
It's that time again! Time for Fine Motor Fridays which means a great group of talented bloggers are bringing you playful fine motor skills activities for kids! Click through the links below to see what everyone else has been up to this week and be sure to follow our Fine Motor Fridays Pinterest Board!
Fall Leaf Punch Collage from Craftuate
Word Family Activity with Bread Ties from Still Playing School

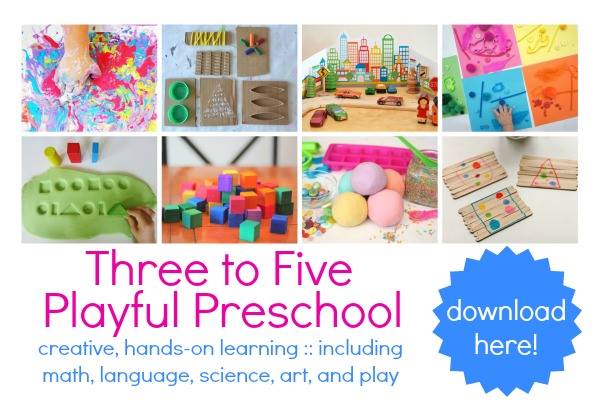
GOT PRESCHOOLERS?! If you enjoy trying simple, playful activities with your preschooler, I invite you to check out a lovely collaborative eBook that I contributed to. Three to Five: Playful Preschool is chock full of approachable activities, step-by-step tutorials and inspiring photographs from some of the top kids bloggers from around the world! There is an subject-based index that helps you select the perfect activity based and many of the activities are perfect for multiple siblings of different ages to do together! Learn more here!

This is a great extension of your post from last week. I love the creativity you have in your posts. Thanks so much for the great ideas!
Thank you so much for the kind compliments! And for coming by to read!